What we are doing today
Hello! In this post, I will be covering how to paint miniature figures for boardgames. I am an avid boardgame player myself, and while not all the games I like to play have detailed miniatures like these, I would like those that do have them to look as stunning as possible. What better way to achieve that then to paint these models very easily myself and you can do it too! In a follow-up post, I will address all of the materials you will need, but now let's get to it!
In this photo montage, I painted the Wizard from the classic board game: Talisman 4th Edition. I decided to make him a Fire Wizard, which fits the theme of the game nicely. If you have never played this game, it is a light-hearted and fantasy-themed game where you roll dice to move around a large board, find loot, and battle monsters to become the ruler of Talisman!
On to the Painting
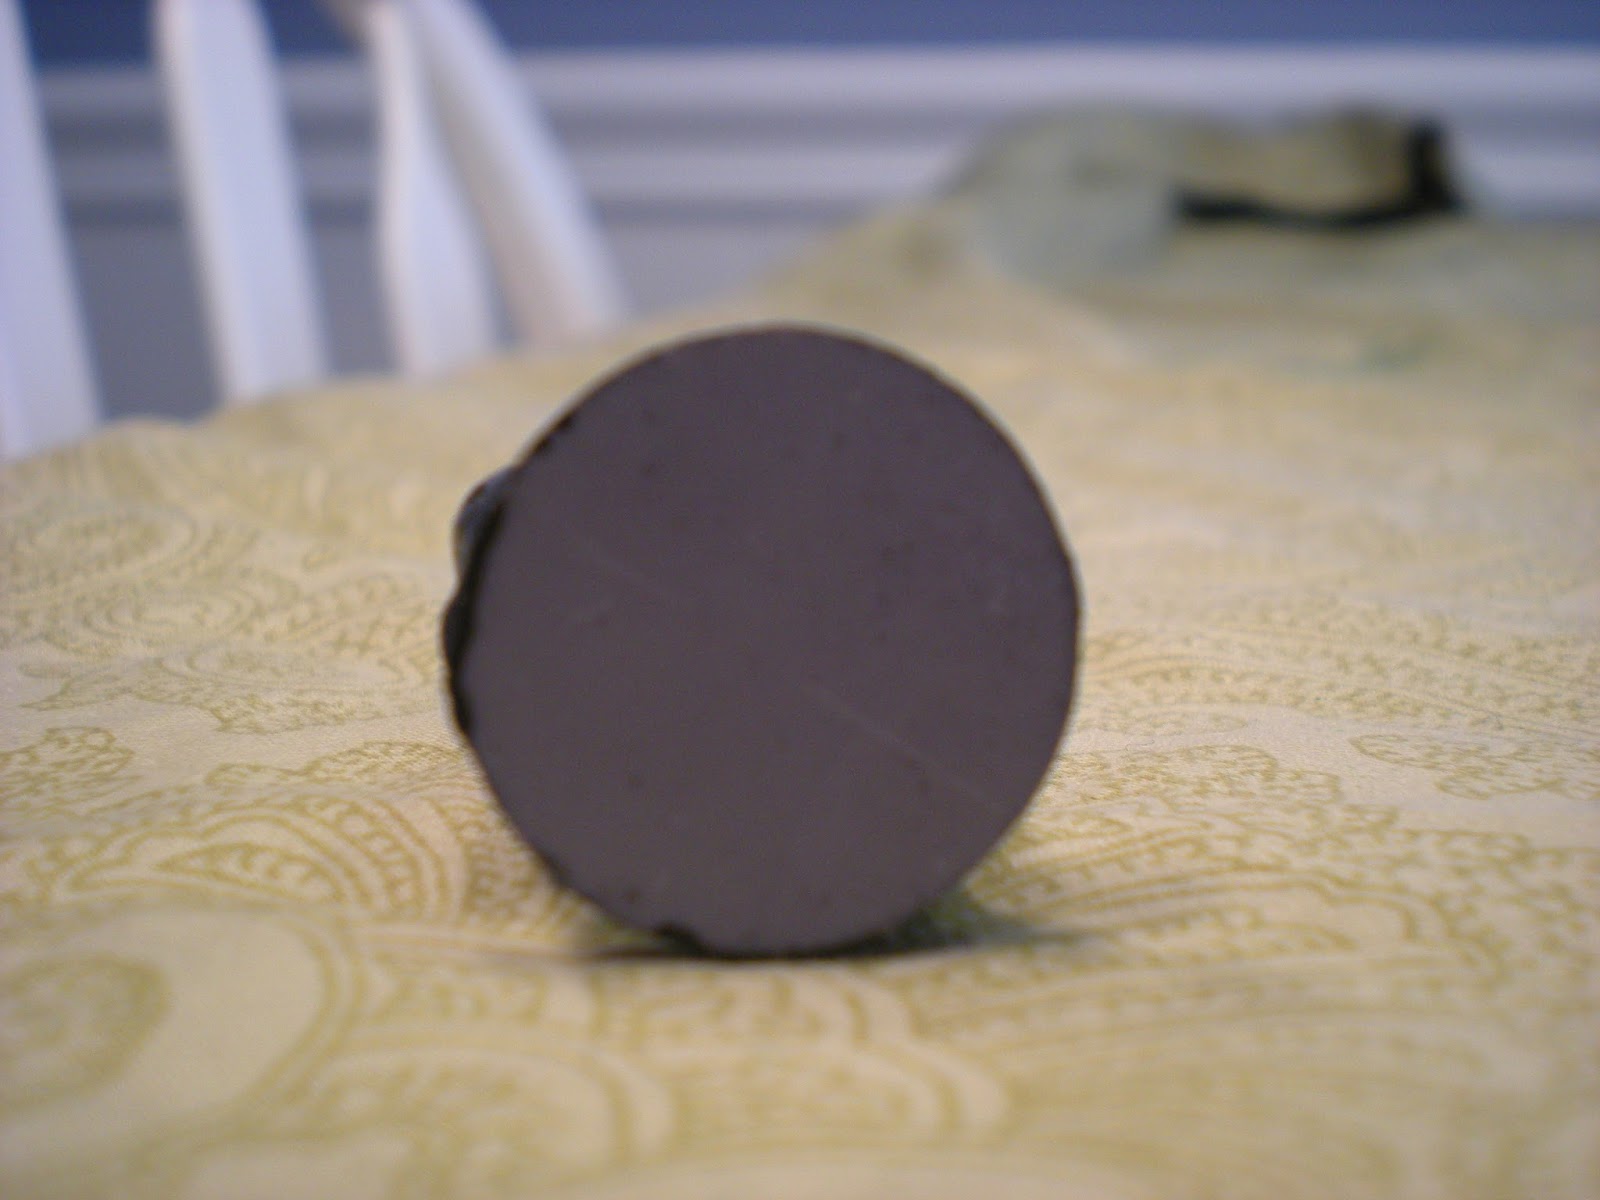
As you can see here, the bottom of the figure shows the
original plastic color—a very dull and boring grey.

In the next step, I sprayed painted the figure a flat black
with basic Rust-oleum spray paint. Make sure that the spray paint specifically says
that it will bond to plastic! I did this outside into a cardboard box due to
the smell, less mess. Use only quick, short burst of paint and keep the can
moving in sweeping motions for even, but light coverage. You do not want it to
glob anywhere so that you cannot see the details in the plastic. Tip: paint the
front, back, sides, then lay the piece flat to check for missed coverage.

Tear a piece of the card board box that you used to spray paint for a cheap palette board that you can throw away when you are done. For the model, I used cheap acrylic paint with a $1 per color price. While more serious miniature painters will recommend much more expensive paints by wargame companies like Warhammer 40k etc..., I found that these cheaper paints worked quite well, and I didn't have to break the bank to buy them (some the larger, more "serious" sets cost $30-$50 or more). The paint job may not last quite as long, but I do not mind if in the future I have to repaint them.

Starting with the cape, I applied a layer of Tuscan Red, pictured here still wet. Dip your brush into water, wipe the extra water on a paper towel (no drips) and then into the acrylic paint to thin it a little, but not too much water or it will become translucent and show too much of the black. If you use the paint right from the bottle, it will over cover the nice folds of the cape and we want to show as much detail as possible.

I borrowed my wife's hairdryer, be careful not to get paint on it or you might be in the doghouse, and set it to hot and low to quickly dry the paint (30 secs per side). Do this between every step (layer)! I will now only show the pics after I have dried the paint. Notice that the paint became more muted when it dried than when it was wet.

Next, I applied a layer of Spiced Carrot to his robes; I love these color names, and I made sure not to cover his satchel bag on his hip or his hands, as best as I could.

I then went back over the Spiced Carrot with a thinner layer of Tuscan Red (mixed more water into this so that the Orange would show through. In my head, I wanted it to look like dancing flames. I also added Tuscan Red to the underside of his cape. If it looks too Red, take a frayed brush, quick dip into the Carrot and jab it sporadically to bring out the Orange.

Now I use the color Linen for his face and hands, just want to cover his face first before the beard, and I don't care if the face color gets on the beard a little bit, because we will cover it up next. Do you best not to get Linen color on his robes (I see that I did a little, oh well). Notice that I used my favorite painting color Burnt Umber (in rest of my life Green is my favorite) for his bag and belt with a touch of Banana Yellow.

Next, I added Burnt Umber to the staff, Tuscan Red to the cloth at the top of the staff, and a burst of fire, I mean Banana Yellow with a bit of Spiced Carrot to the staff's gemstone. I also used some Too Blue mixed with Tuscan Red to create a shadow color for the inside of his cape under the arm. Lastly, a bit of Umber and Tuscan Red to the Wizard's cap.

Pictured here is my secret recipe for washes. What is a wash? A wash acts like a thin, watery, drizzle layer. It is a translucent darker color that you put on your figure after you are finished painting. The darker color gives my Wizard a gritty realism, and the wash flows into all of the cracks, bringing definition to the details on the figure. If you have watched my oil painting videos you know that in an oil painting you start with the background, "lowlight" colors first and then add the highlights on top. Here we start with the brighter colors, and then add the background colors last.
So what is my secret recipe???
One Part Water
One Part Dish Soap
One Part Color: (Yep) Burnt Umber (2-4 drops).
Now if you want, some of the large war game companies, like those that I mentioned before, do sell an official wash that you can buy (costs anywhere from $5 - $35 in price depending on the brand), but I find that the above recipe works just fine for what I am doing. Get whatever works for you. I cannot address the effectiveness of the store bought washes as I have never used them before.

After the first wash coat, and all the colors are starting to pop, looks great!

After the second wash coat. Now, I could stop here, the figure is finished, looks great, and I am very happy with it; however, I am utilizing a uniform stylized motif on these figures to make them look like stone carvings—out of sandstone perhaps.

To achieve this effect, I take a wide flat, "Filbert" style brush and dip into White paint. I then brush off the brush onto the cardboard palette to get rid of the excess paint, until only a little, VERY thin layer is coming off the brush. I very gently brush my wizard, in the most detailed areas to make the ridges become highlighted.

As you can see on the cape, I try to leave any non-ridge area alone and only brush the detailed parts of my Fire Wizard.

Here is a group shot of three finished figures, the Wizard, the Philosopher, and the Elf, to give you an idea what the total group is going to look like! Only 20 figures to go!

And the back side! Thank you reading this post, and I hope that you enjoyed seeing my miniature painting process. Please comment below with what you thought, if you have any questions about the techniques used etc... Don't forget to follow this blog as new great content will be posted each week! You can now join my mailing list to get updates right to your emailbox when new posts come out, as well as via the RSS Feed, at my Facebook page and on Google Plus!
Facebook Page:
https://www.facebook.com/Impulsive-Artistry-550231065132770/
The rest are on the righthand side bar and below -------->
PLEASE SHARE THIS POST WITH YOUR FRIENDS!!!
No comments:
Post a Comment